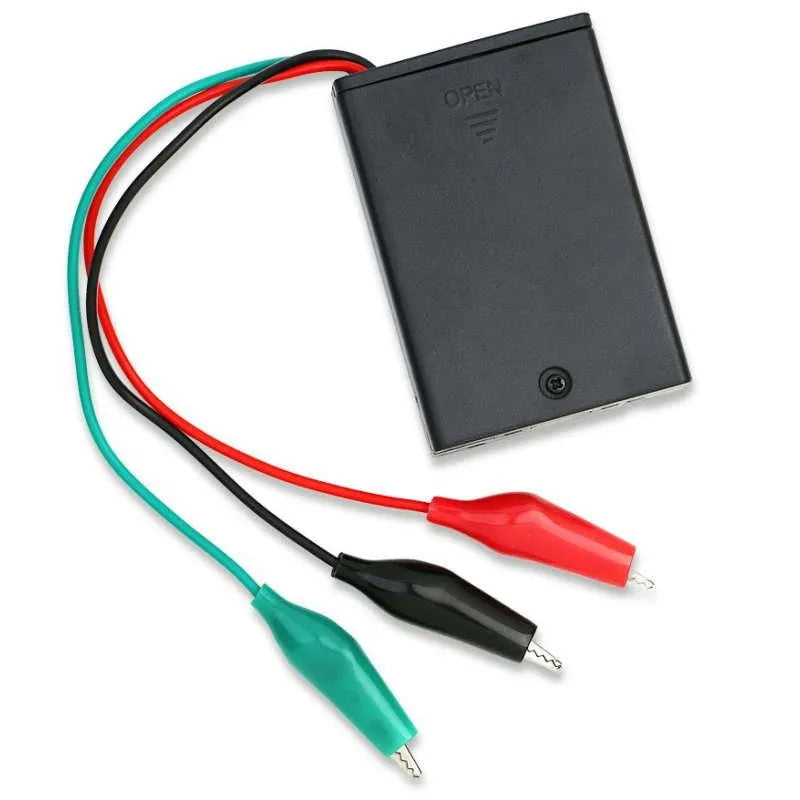
Floor Damage Sensor
The Floor Damage Sensor is an essential tool for any installer or homeowner seeking maximum protection for their floor heating system. Designed to provide advanced warning, this sensor alerts you immediately in the event of damage to the heating cable or mats, preventing potential costly repairs and the need for floor removal.
Installation is simple and straightforward. Connect the heating mat cables to the back of the Floor Damage Sensor, and it becomes a vigilant guardian for your heating system. Should the heating cable sustain any damage during installation or by a tiler, the sensor will emit a high-pitched alarm, notifying you promptly to take necessary action.
By using the Floor Damage Sensor, you can ensure the longevity and functionality of your floor heating system. It provides peace of mind, knowing that you will be alerted to any potential issues before they escalate into larger, more expensive problems.
With its durable construction and reliable performance, the Floor Damage Sensor can be used repeatedly, safeguarding your investment for years to come.
Please note that the sensor requires 2 AA batteries for operation (batteries not included). Make sure to have these on hand to benefit from continuous monitoring and protection.
Installation
Element / Continuity Tester:The following instructions are very important before commencing installation.
- Clip the Brown or Red wire of the element cold tail to L1 (red lead)
- Clip the Blue or Black wire of the element cold tail to L2 (Black lead)
- Clip both green wires of the element cold tail to the Green lead of the tester.
- Switch the tester on.
- A Red Light then shows that the tester is on and working.
- If you have a fault the tester will start “Beeping” If there is no “Beep” you can continue with the installation
- Is the beep sounds at any time, before or during installation STOP IMMEDIATELY as this means that damage has occurred to the element and you will need to contact an electrician for repair.
- Once you have finished the installation and before you start tiling reconnect the tester as above and turn on.
- Keep the tester on until your tiling is complete.
- If the tester light turns off you will need to replace the batteries.
“X” indicates alarm .
| Leads | Short Circuit | Open Circuit |
|---|---|---|
| L1, L2 | N/A | X |
| E, L1 | X | N/A |
| E, L2 | X | N/A |
| E and L1 + L2 | X | N/A |
MPN:

